DIY Project: Window Shade
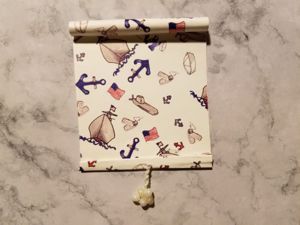
Add realistic non-working window shades to your diorama windows. You will need a sheet of paper with a width or length longer than the height of your window, a plastic drinking straw, scissors, ruler, pencil, and glue or adhesive tape. I prefer scrapbook paper to add a splash of color that coordinates with my project.
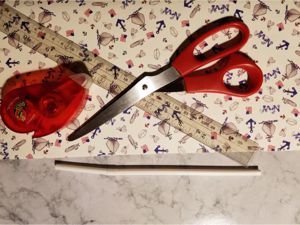
These instructions include a pull but can easily be made without. For the pull cord, you’ll need heavy sewing thread, embroidery floss, or other thin cord, a sewing needle, and beads of your choice.
Step 1: Measure the width of your window, cut two strips from your paper, one about three inches long and the other about two inches longer than you want your shade to be when done.
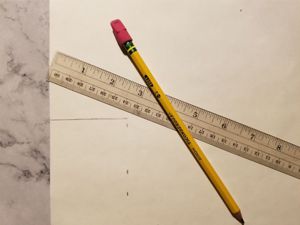
Step 2: Cut a piece from the straw the width of the window. Use your adhesive to attach the shorter piece print side out so that it’s fully wrapped with a small strip exposed at the bottom.
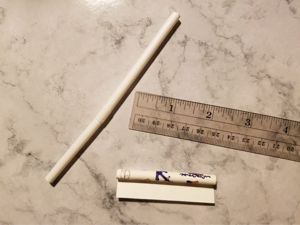
Step 3: Glue the longer strip to the smaller strip with print side facing forward.
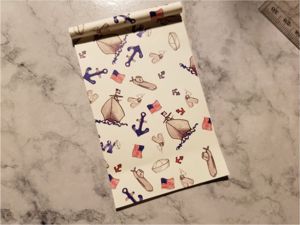
Step 4: To make the pull cord for your shade, string the bead(s) of your choice on heavy thread or floss, then tie a series of simple knots to the desired length. Leave the needle on the thread to make later steps easier. NOTE: If you don’t want a pull cord on your shade, skip this step and instructions below regarding its installation.
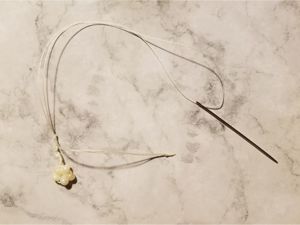
Step 5: Measure the length of shade you want and mark where the bottom of the shade will be and one-fourth of an inch below that line. I prefer to make my shades short enough to expose the “view” outside my windows.
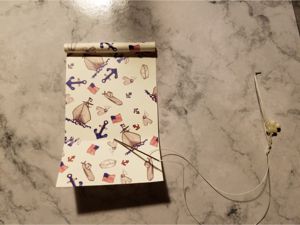
Step 6: Fold it back along the lower line.
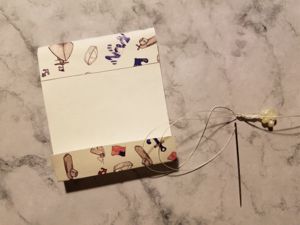
Step 7: Fold it forward along the bottom of shade line to create a lip at the front of the shade.
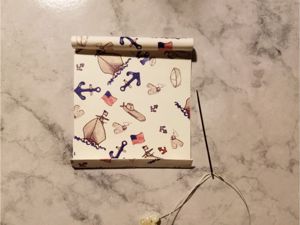
Step 8: Use the needle to punch a hole at the center of the fold at the bottom of the shade. Rotate the needle to enlarge it to about twice the original size.
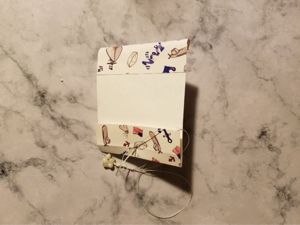
Step 9: Pull the two ends of the thread/floss through the enlarged hole.
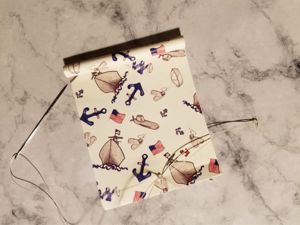
Step 10: Glue down the flap at the back of the shade. Apply the adhesive inside the lip fold, stick the anchor strands across the crease, fold the lip down to the front of the shade.
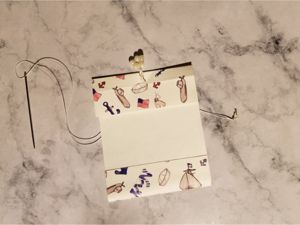
Step 11: Trim off the excess thread/floss and your shade is ready to hang. The hollow straw allows flexibility in hanging methods or you can simply glue it to the top of your window.
Tags
- Thought of the Month (70)
- Playscale Emporium Tips (9)
- FAECO News Commentary (4)
- My Soapbox (2)
Archives
- February 2026 (1)
- January 2026 (2)
- December 2025 (1)
- November 2025 (1)
- October 2025 (2)
- September 2025 (1)
- August 2025 (1)
- July 2025 (1)
- June 2025 (1)
- May 2025 (1)


Comments
Post new comment